From Scraps to Black Gold: Step-by-Step DIY Composting
Chosen theme: Step-by-Step DIY Guides to Successful Composting. Welcome to a hands-on, hopeful journey where everyday leftovers become living soil. Follow our practical steps, learn from real garden stories, and share your progress so others can cheer you on. Subscribe for weekly checklists, simple builds, and friendly reminders that keep your compost humming.
Build a Simple, Sturdy Compost Bin
Gather materials and tools
Collect three wooden pallets, galvanized screws, a drill or driver, wire mesh for the base, two hinges, a latch, and work gloves. Reclaimed pallets save money and reduce waste, while mesh keeps rodents out. Share a photo of your haul so readers can help troubleshoot before you start.
Assemble in clear steps
Stand two pallets upright as side walls, screw them into a back pallet, then add mesh across the bottom for drainage and critter control. Hinge a fourth pallet or a slatted frame as the front door with a simple latch. Check that panels are square, and invite a friend to hold while you drill.
Choose the right location
Pick a spot with partial shade, good drainage, and hose access. Keep it close enough for daily use but far enough to remain tidy. Avoid low puddling areas and place the bin on soil, not concrete, to invite helpful microbes and worms. Tell us what constraints your yard has and we will suggest tweaks.
Master the Greens and Browns Balance
Identify what counts as greens and browns
Greens include kitchen scraps, coffee grounds, tea leaves, fresh grass, and manure. Browns include dry leaves, shredded cardboard, paper, straw, and twigs. Keep a labeled bucket for each to avoid confusion. Drop your tricky items in the comments and we will help classify them.
Hit the carbon to nitrogen sweet spot
Aim for roughly three buckets of browns to one bucket of greens to approach a healthy carbon to nitrogen ratio. Layer browns first, add greens, then a thin brown cap to manage smells. If you track recipes, share your favorite brown sources so others can copy what works.
Moisture and airflow made simple
Squeeze a handful from the pile. It should feel like a wrung out sponge, not dripping and not dusty dry. If soggy, add shredded leaves and turn; if dry, add water as you mix. One reader revived a cold, crusty heap by poking air channels with a broom handle, then turning every three days.
Troubleshooting Without Stress
Odor usually signals too many wet greens or poor airflow. Add a thick layer of dry browns, fluff the pile, and cap everything with shredded leaves. Pause new food scraps for two days. A neighbor once fixed a sour heap in a single evening using this exact routine. Tell us how fast yours recovers.
Troubleshooting Without Stress
Always bury fresh scraps under browns, avoid meat and oily foods, and secure the base with wire mesh. Use a tight fitting lid or front door, and sweep up spills immediately. If raccoons visit, add a latch and keep the area tidy. Share your region and we will tailor defenses.
Spring starts and weed management
Kick off with yard cleanup, shredding prunings and leaves into perfect browns. Avoid composting mature weed seeds unless your pile runs hot. If unsure, solarize questionable material in a clear bag for two weeks. Share your spring inputs and we will help balance them.
Autumn leaves into fuel
Shred dry leaves with a mower and stash them in breathable bags as your brown bank. Through winter and spring, sprinkle these leaves over every kitchen addition. One family fills six bags each fall and never runs short. What is your target number this year
Winter composting that actually works
Insulate with extra browns, keep the pile covered, and accept slower action. Store kitchen scraps in a covered bucket, then add in larger batches on milder days. Freeze and chop scraps to speed spring startup. Tell us your cold climate tricks so the community can benefit.
Harvest, Cure, and Use Your Compost Right
Finished compost looks dark, smells earthy, and feels crumbly, with original materials mostly unrecognizable. The pile no longer heats after turning. Try a simple bag test for lingering ammonia or a quick seed germination test. Report your results to help tune our shared maturity checklist.
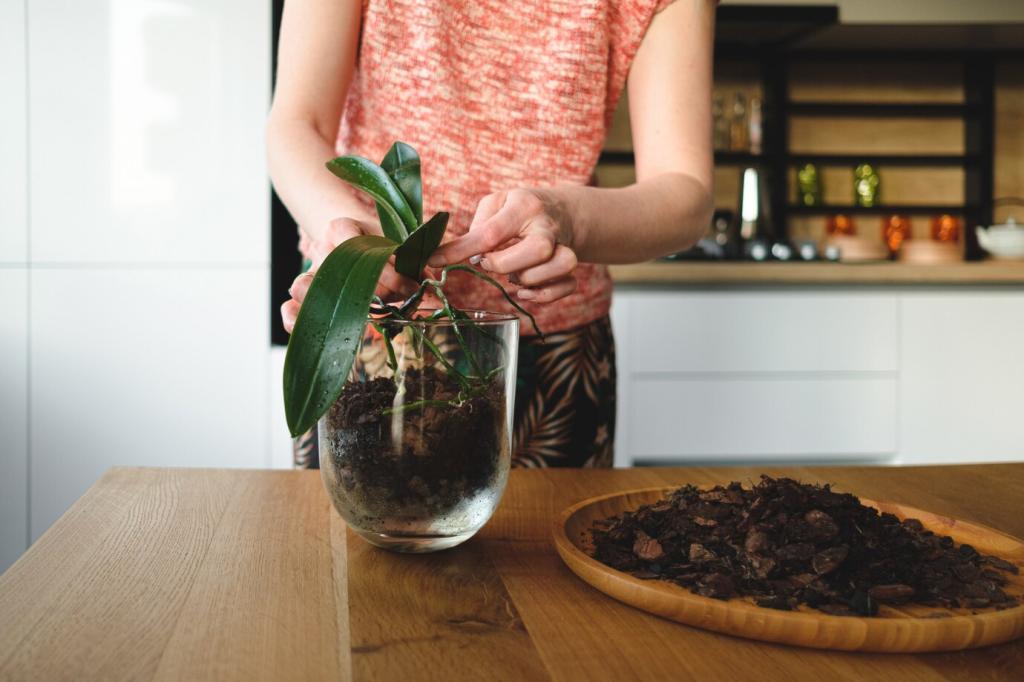
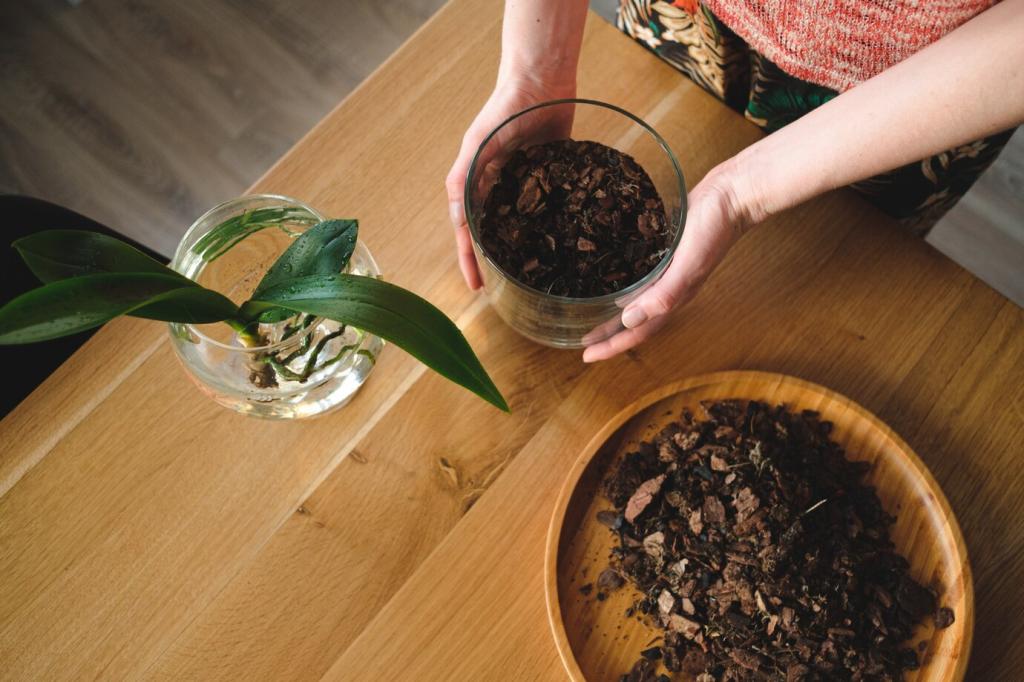
Vermicomposting DIY for Small Spaces
Use two plastic totes, drill ventilation and drainage holes, and nest them to catch moisture. Add moist bedding of shredded paper, coco coir, and a handful of finished compost. Introduce red wigglers and let them settle. Share your bin dimensions so others can replicate your setup.